-
Flipped classroom by a chemistry teacher from NYC
Meet Paul, a chemistry teacher from NYC who has been teaching for 11 years. Currently, he teaches at a specialized ... -
How a math teacher from Ohio flipped classroom with ShowMe
Meet one of ShowMe educators, Heidi Herr who has been teaching middle school and high school math and science at ... -
How an Elementary Teacher Flipped Classroom with ShowMe
(photo by Wacey Tobler) Meet Brian Quick, an elementary teacher in the Kansas City area. He started to use ShowMe three ... -
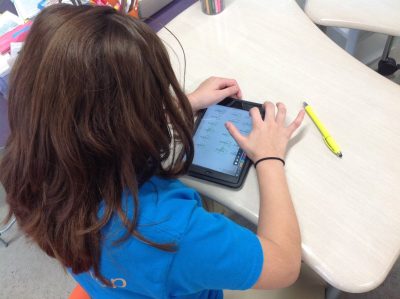
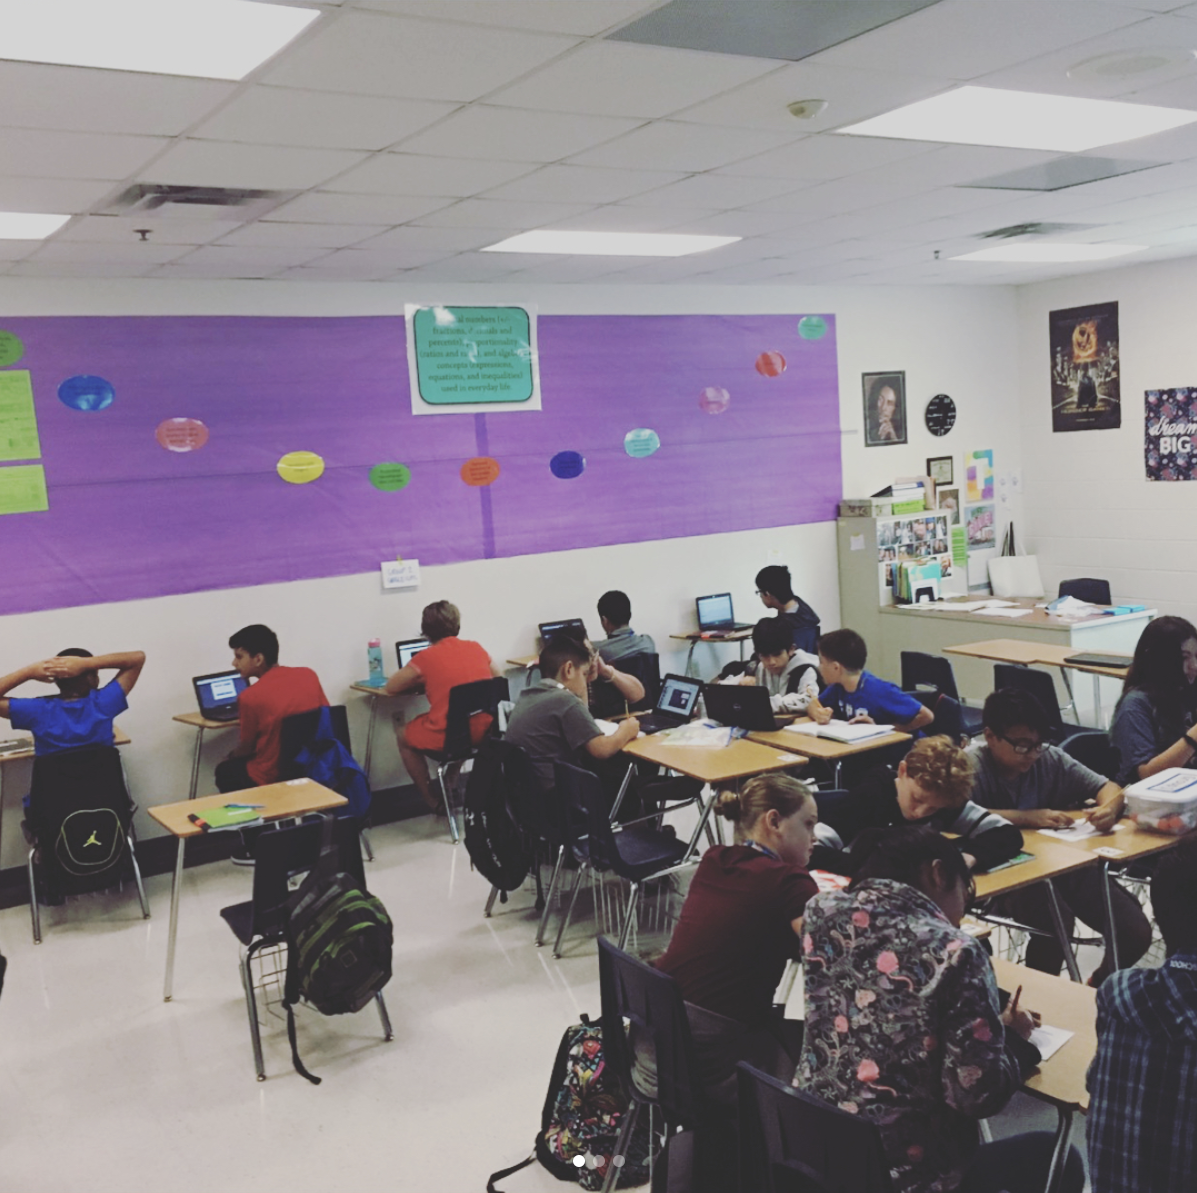
Chapa Middle School Teacher Implementing Blended Learning in Her Classroom
Melissa Townsend (@teacherTWNSD) is a 6th grade Math Teacher at Chapa Middle School. An avid ShowMe user, Ms. Townsend recently ... -
Three Strategies for Teaching Grammar in ESL
Grammar can often be frustrating for ESL students, partly because many grammar texts contain exercises that use the “drill” method ... -
Using ShowMe to Develop Student Created Math Tutorials
This guest post is written by Kelly Wroblewski, a High School Math Teacher in Austin, TX. She and her coworker ... -
A Great Tool for Graphing
WARNING: Math-related content! Handle with care!.. My math teacher in high school was really good at drawing figures and graphs. ... -
How-To: Email ShowMes directly to Evernote
Evernote is a really fantastic organization tool for both teachers and students. The notebooks you create can be accessed on your computer, ... -
How-to: Embed your ShowMe into a Prezi presentation!
This How-to comes to us from Peg Hartwig of Marshfield, WI. One of her students was asked to make a ... -
How-to: Have students use ShowMe to teach each other!
I recently went to 7th grade classroom in Mineola, NY where they proudly declare their classroom motto is “think different!” ...