-
How to invite friends
Our team loves to see the ShowMe Community growing, and that is why we created a feature to invite friends ... -
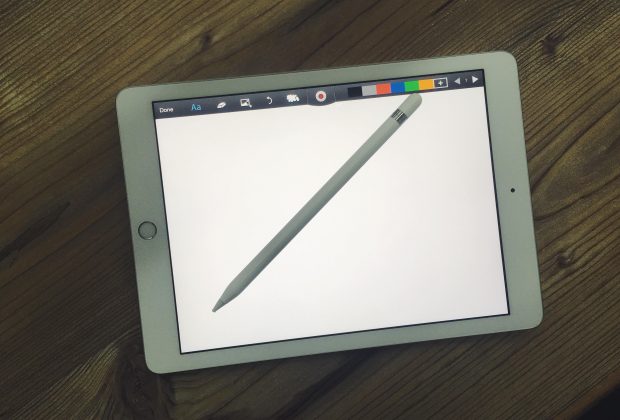
How to pair ShowMe with Apple Pencil?
Before you start pairing the Apple Pencil with the iPad make sure the ShowMe app is updated to the latest ... -
Introducing: Apple Pencil Integration
Teachers all around the world look for ways to enhance the process of creating their content and search for tools ... -
My humble experience
I still remember my first lesson introducing ShowMe to my students. I had concerns; would students be able to connect ... -
Make your ShowMe Standout!
ShowMe is just as much about creating a learning community as it is about creating lessons. Because of this, If you ... -
How To: Prepare before recording your ShowMe
Please upgrade your browser Before you hit record you can add text and images the same way you would while ... -
How-to: Understand you Profile Page on the ShowMe app.
Please upgrade your browser Your Profile Page On My iPad: These are the ShowMes that have been created on this ... -
How-to: Have students use ShowMe to teach each other!
I recently went to 7th grade classroom in Mineola, NY where they proudly declare their classroom motto is “think different!” ...